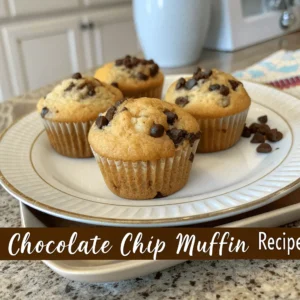
The Perfect Homemade Chocolate Chip Muffin Recipe
Chocolate chip muffins are a classic treat that brings comfort and joy with every bite. Whether you’re looking for a quick snack to satisfy your sweet tooth, a delightful breakfast on the go, or a crowd-pleasing treat for a gathering, this homemade chocolate chip muffin recipe is the perfect solution. Soft, fluffy, and loaded with rich chocolate chips, these muffins are everything you crave in a baked good.
What makes these kinds of recipes so special is their simplicity. With ingredients you likely already have in your kitchen, you can easily create muffins that are just as good as any store-bought version—if not better. They’re made with pantry staples like butter, brown sugar, eggs, and of course, plenty of chocolate chips for that irresistible sweetness. Best of all, they’re incredibly easy to make, even for beginners, and require minimal prep time.
Whether you’re baking them for a family breakfast, serving them at a brunch gathering, or simply enjoying them as an afternoon snack, these chocolate chip muffins will hit the spot every time. Get ready to bake your new favorite go-to snack with this foolproof recipe that’s sure to be loved by everyone.
Why This Chocolate Chip Muffin Recipe is a Must-Try

The Perfect Balance of Sweetness and Fluffiness
One of the reasons this chocolate chip muffin recipe is so beloved is the perfect harmony of sweetness and texture. The chocolate chips not only provide that rich, melt-in-your-mouth sweetness but also offer little pockets of gooey goodness in every bite. As they melt in the batter, they create pockets of chocolatey bliss that complement the light, fluffy texture of the muffin. The sugar—both brown sugar and granulated sugar—works to enhance the muffin’s sweetness, creating a tender crumb that is slightly moist and melts in your mouth. The combination of these ingredients ensures a muffin that is not too sweet but just the right balance of rich chocolate flavor and soft, airy texture. Whether you’re enjoying them fresh from the oven or later as a snack, the sweetness and fluffiness will always be on point, making each bite incredibly satisfying.
Made with Pantry Staples
The beauty of this chocolate chip muffin recipe is how simple and accessible it is. You don’t need any fancy ingredients or exotic flavorings—just common pantry staples you probably already have on hand. The base ingredients—butter, eggs, flour, and sugar—are essential in creating the perfect muffin batter. The butter adds richness and moisture, while the eggs provide structure and bind everything together. Flour creates the foundation of the muffin’s light texture, and the sugars bring both sweetness and tenderness. With just a few basic ingredients, you can create a batch of muffins that are as good as, if not better than, what you’d find at the bakery.
Great for Any Occasion
These chocolate chip muffins are so versatile, making them the perfect treat for almost any occasion. They’re not just for breakfast—though they certainly make a delicious, quick start to your day. These muffins also double as a great snack for any time of the day, whether you’re in need of a little mid-afternoon pick-me-up or want a sweet treat after dinner. Their easy-to-make nature and simple ingredients make them ideal for last-minute baking, and their crowd-pleasing taste ensures they’ll be a hit at any gathering. Whether it’s a holiday brunch, a family breakfast, or an impromptu get-together with friends, these muffins will be the perfect addition to any spread. They’re quick to prepare, and their irresistible aroma will fill your home, drawing everyone to the kitchen. Plus, with their perfect balance of sweetness and fluffiness, they’re sure to satisfy every craving, making them a go-to treat for any occasion.
Key Ingredients for the Best Chocolate Chip Muffins

Chocolate Chips: The Key to Flavor and Texture
The star ingredient in these chocolate chip muffins is, of course, the chocolate chips. While you can use any type of chocolate, semi-sweet chocolate chips are ideal because they offer the perfect balance of sweetness and bitterness. They melt into the batter beautifully, providing pockets of gooey chocolate in every bite, without overpowering the overall flavor. The semi-sweetness of the chips also complements the sweetness of the muffin, preventing them from becoming too sugary or cloying. However, if you want to get creative, this recipe offers room to experiment with different types of chocolate.
You can easily switch out the semi-sweet chips for milk chocolate for a sweeter, creamier version, or dark chocolate for a more intense, slightly bitter flavor that contrasts nicely with the soft, fluffy muffin base. Another fun twist is to mix different types of chocolate for added depth, combining milk and dark chocolate, or even adding white chocolate chips for a visually striking and sweet contrast. The type of chocolate you choose will impact the flavor and texture of the muffins, so feel free to adjust to your preference and make them your own.
Flour & Leavening Agents: The Building Blocks of Fluffy Muffins
The flour, baking powder, and a pinch of salt come together to form the structure and texture of your muffins. All-purpose flour is the base that gives your muffins their body. It’s versatile and the go-to option for most baked goods, as it ensures the right balance between tenderness and structure. Baking powder, as the leavening agent, is what helps your muffins rise and become light and fluffy. It reacts with the wet ingredients to produce gas bubbles, causing the batter to expand during baking. This process gives the muffins a tender crumb that’s not too dense or heavy.
The pinch of salt plays a crucial role in balancing the sweetness and enhancing the overall flavor of the muffins. While it may seem like a small amount, salt brings out the best in both the chocolate chips and the other ingredients, ensuring a well-rounded flavor profile. The combination of these ingredients helps create a light, fluffy texture that melts in your mouth and gives you that irresistible bite. Without these key components, the muffins might turn out dense or flat, so it’s essential to get the right proportions of each for the best results.
Butter & Milk: Adding Moisture and Richness
Butter is the secret to the richness and flavor of these chocolate chip muffins. When combined with the other wet ingredients, the butter melts into the batter, contributing to the muffins’ tender and moist texture. It also enhances the flavor by adding a subtle richness that makes the muffins taste decadent. The fat in the butter helps to keep the muffins soft and fresh for longer, preventing them from drying out after a day or two.
Milk, on the other hand, ensures that the muffins stay moist and soft, with a smooth, cohesive batter. It adds moisture without making the batter too runny, allowing the muffins to bake up just right—fluffy and airy on the inside, yet firm enough to hold the chocolate chips in place. The liquid from the milk works with the flour and butter to create a well-balanced batter that bakes into the perfect texture. Whether you use whole milk, 2%, or even a dairy-free alternative like almond milk, the result is a muffin that’s tender, moist, and indulgent. The combination of butter and milk is crucial for achieving that melt-in-your-mouth texture and keeping the muffins fresh and irresistible.
By using these staple ingredients, you’re setting up your muffins for success—each element working together to create the perfect chocolate chip muffin that’s both flavorful and delightfully fluffy.
Step-by-Step Guide to Making Perfect Chocolate Chip Muffins
Step 1: Prepare the Wet Ingredients – Mix the Butter, Sugar, Eggs, and Vanilla Extract Together for a Smooth Batter
The first step in making the perfect chocolate chip muffins is to prepare the wet ingredients. Start by softening the butter—this makes it easier to mix with the sugars, ensuring a smooth, creamy consistency in your batter. In a large bowl, combine the butter with the granulated sugar and brown sugar, which will give the muffins a rich flavor and a slightly caramelized sweetness. Beat the mixture until it’s light and fluffy. This step is key because it incorporates air into the batter, which will help the muffins rise and become fluffy.
Next, add the eggs one at a time, ensuring each one is fully incorporated before adding the next. Eggs are essential for providing structure to the muffins, as they bind all the ingredients together. Don’t forget to add the vanilla extract—this simple ingredient brings a warm, aromatic flavor to the batter, which enhances the overall taste. The result will be a smooth, creamy mixture that sets the foundation for the muffins’ soft and moist texture.
Step 2: Combine Dry Ingredients – Blend the Flour, Baking Powder, and Salt in a Separate Bowl Before Adding to the Wet Ingredients
Whisk the all-purpose flour, baking powder, and salt together in a separate bowl.
The flour is the primary structure for the muffins, and the baking powder is the key to their rise, ensuring a light and fluffy texture. Salt, though small in quantity, plays a crucial role in balancing the sweetness of the sugar and enhancing the flavor of the chocolate chips.
Once the dry ingredients are fully blended, slowly add them to the wet ingredients, mixing just until combined. Be careful not to overmix at this stage. Overmixing the batter can result in dense muffins, as it activates the gluten in the flour too much. The goal is to keep the batter light and tender, so stir just enough to incorporate the flour mixture without overworking the dough.
Step 3: Add the Chocolate Chips – Gently Fold in the Chocolate Chips Into the Batter
Now comes the best part—adding the chocolate chips. Gently fold in the semi-sweet chocolate chips (or your preferred variety, such as milk or dark chocolate) into the batter. Be sure to mix evenly, but don’t overwork it. Folding is the best method here because it helps preserve the airiness of the batter while ensuring the chips are evenly distributed throughout. This way, you’ll get a bite of chocolate in every muffin without losing the soft texture of the batter.
If you like a more indulgent chocolate experience, feel free to add more chips to the batter, or even add a few chocolate chunks for extra gooeyness. The key is to ensure the chips are well-distributed but not overmixed into the batter, which could cause them to break apart.
Step 4: Baking – Preheat the Oven to 350°F (175°C), Then Bake for 18-20 Minutes Until Golden and a Toothpick Comes Out Clean
Preheat your oven to 350°F (175°C), allowing it to fully heat before baking your muffins. This ensures they bake evenly and rise properly. While the oven is heating up, line your muffin tin with paper liners or lightly grease it to prevent sticking.
Scoop the muffin batter evenly into each muffin cup, filling them about two-thirds full. This allows the muffins to rise perfectly without spilling over. Once they’re in the tin, pop the muffins into the oven and bake for 18-20 minutes. During this time, the muffins will rise and turn golden brown on top. If it comes out clean or with just a few moist crumbs, your muffins are done. If the toothpick comes out with wet batter, bake for a few extra minutes.
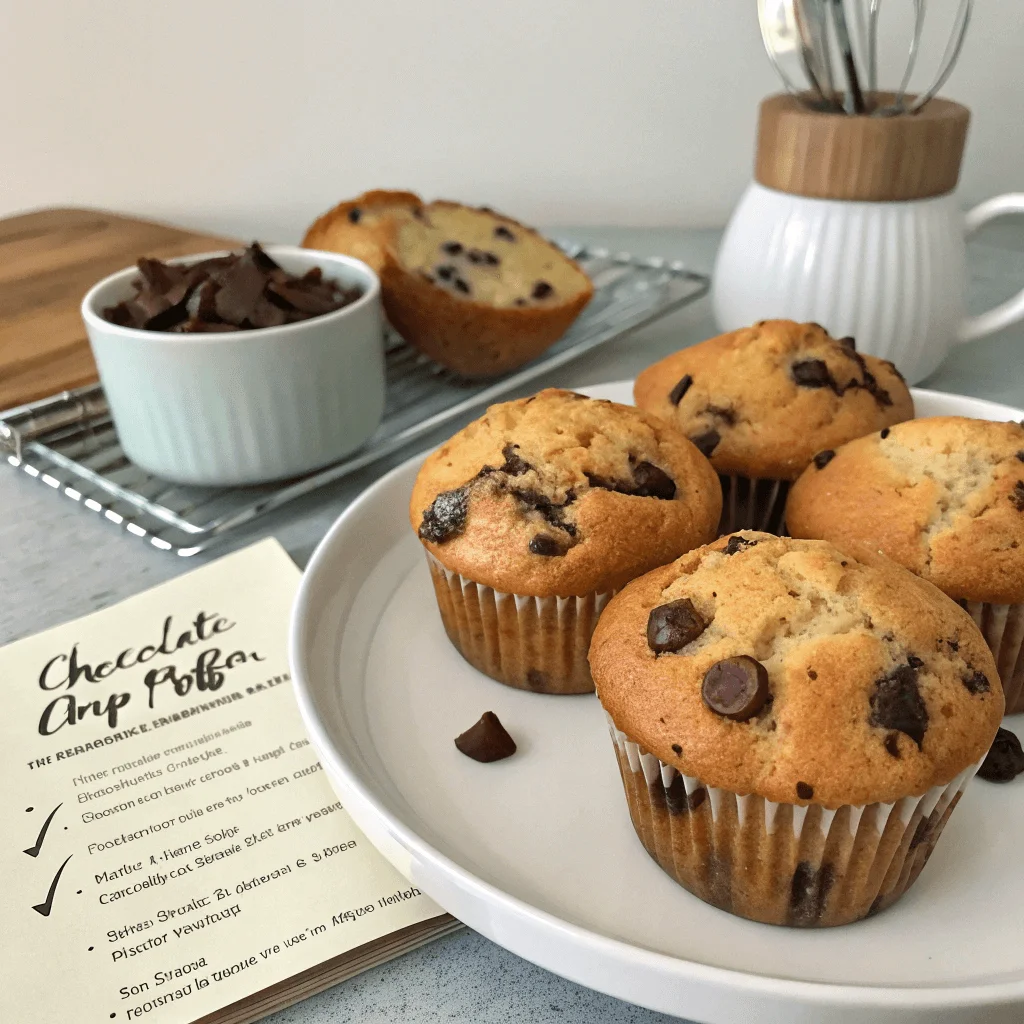
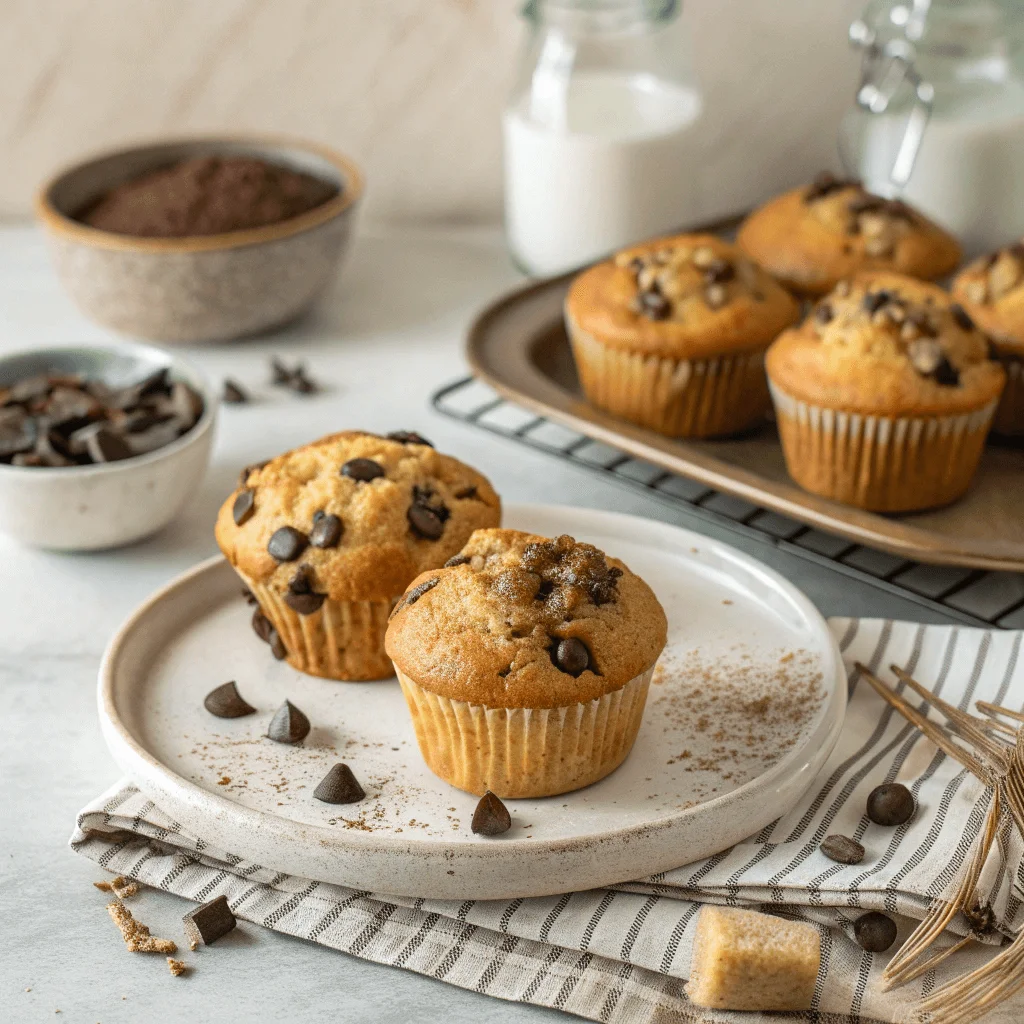
After removing the muffins from the oven, allow them to cool in the tin for a few minutes before transferring them to a wire rack to cool completely. This helps the muffins set and prevents them from falling apart. The result? Warm, golden-brown muffins with a soft, fluffy texture and pockets of melted chocolate chips throughout. Perfect for any occasion!
Tips for Making Fluffy, Moist Muffins Every Time
Don’t Overmix the Batter – Mixing Too Much Can Lead to Dense Muffins
A common mistake when baking muffins is overmixing the batter. While it might seem like mixing the ingredients for longer ensures everything is fully combined, it actually has the opposite effect. Overmixing activates the gluten in the flour, which can result in a dense, tough texture rather than the light and fluffy muffins you’re aiming for.
To prevent this, mix the ingredients just until they’re combined. It’s completely fine if there are a few small lumps in the batter—those will disappear as the muffins bake. The key is to fold the ingredients together gently and avoid the temptation to keep stirring. When you fold the dry ingredients into the wet, be deliberate and cautious, ensuring the flour is incorporated without overworking the dough.
If you follow this tip, you’ll get perfectly light and fluffy muffins with the right texture that melts in your mouth, rather than dense, heavy ones that can feel dry or chewy.
Use Room Temperature Ingredients – Ensure Your Butter and Eggs Are at Room Temperature to Help Achieve a Smoother Batter
For the best results, always use room temperature ingredients, especially butter and eggs. When these ingredients are at room temperature, they mix together more easily, resulting in a smoother batter. Cold butter can make it difficult to incorporate into the mixture, and cold eggs can cause the batter to seize up.
Allow your butter to sit out for about 30 minutes before you begin baking. It should feel soft but not melted. Similarly, take the eggs out of the fridge ahead of time to bring them to room temperature, so they mix in evenly with the other ingredients. If you’re short on time, you can place your eggs in a bowl of warm water for 5–10 minutes to speed up the process.
Using room temperature ingredients will help create a smooth, well-blended batter, which is crucial for a fluffy, evenly baked muffin.
Check for Doneness – Insert a Toothpick into the Center to Check for Moisture; The Muffins Should Be Golden on Top
To ensure your muffins are perfectly baked, checking for doneness is essential. After the 18-20 minute baking time, insert a toothpick or a cake tester into the center of one of the muffins. If the toothpick comes out clean or with a few moist crumbs, your muffins are ready. However, if the toothpick comes out with wet batter, the muffins need a few more minutes in the oven.
Aside from the toothpick test, you can also visually check the muffins. The tops should be golden brown, and the edges should start to pull away slightly from the sides of the muffin tin. This indicates that the muffins have set and have a light, airy texture.
If you’re unsure, err on the side of caution and bake for an additional 2–3 minutes. Overbaking can lead to dry muffins, while underbaking will result in gooey, undercooked centers. So, keeping an eye on both the appearance and the toothpick test will help you achieve the perfect, moist chocolate chip muffins every time!
Storing & Serving Your Homemade Chocolate Chip Muffins
Storage Tips – Store in an Airtight Container at Room Temperature for Up to 3 Days or Refrigerate for Longer Freshness
To keep your chocolate chip muffins fresh and delicious, proper storage is key. For the best flavor and texture, store your muffins in an airtight container at room temperature for up to 3 days. This will help keep them soft and moist. If your kitchen is particularly warm or you anticipate not finishing them within a few days, it’s a good idea to refrigerate them. Refrigerating the muffins will help extend their freshness for a bit longer, up to 5 days.
When storing in the refrigerator, be sure to let them cool completely before placing them in a container. If the muffins are still warm, condensation can form inside the container, making them soggy. So, let them cool to room temperature first, and then store them in a sealed airtight container to prevent them from drying out or absorbing other odors from the fridge.
Freezing for Later – How to Freeze Muffins and Thaw Them for Later Use
If you’d like to keep your chocolate chip muffins fresh for a longer period of time, freezing is an excellent option. To freeze your muffins, follow these steps:
- Cool Completely: Let the muffins cool completely at room temperature to prevent condensation inside the storage bag or container.
- For freezer storage, wrap each muffin individually in plastic wrap or aluminum foil to protect against freezer burn.
- Store in a Freezer Bag: After wrapping, place the muffins in a freezer-safe bag or airtight container. Be sure to remove as much air as possible before sealing.
- Label and Date: It’s a good idea to label the bag or container with the date so you can track when they were frozen.
Muffins can be stored in the freezer for up to 2–3 months without losing much flavor or texture. When you’re ready to enjoy them, simply remove them from the freezer and allow them to thaw at room temperature for about 30 minutes to an hour. If you’re in a hurry, you can warm them in the microwave for about 20-30 seconds or place them in a preheated oven at 350°F (175°C) for 5–7 minutes.
This method preserves the muffins’ flavor and texture, allowing you to enjoy fresh-tasting muffins whenever you like, even weeks after baking them!
Serving Ideas – Serve As-Is or Warm Them Up Slightly for a Fresh Taste
Chocolate chip muffins are delicious whether you enjoy them freshly baked or after they’ve been stored for a bit. However, to enhance their taste, you can warm them slightly before serving. Here are a few ways to serve your muffins:
- Serve As-Is: Perfect for an easy breakfast, snack, or dessert, the muffins can be eaten straight from the container at room temperature. Their rich flavor will still shine even without any additional warming.
- Warm Them Up: To bring out that freshly baked flavor, gently warm your muffins before serving. You can pop them in the microwave for 15-20 seconds or place them in a preheated oven at 350°F (175°C) for about 5 minutes. This will refresh the muffins, making them soft and warm on the inside with a slight crisp on the outside.
- Pair with a Beverage: For an extra treat, serve your muffins with a hot cup of coffee, tea, or a glass of milk. The combination will elevate the experience and make it perfect for a cozy afternoon or weekend breakfast.
- Add a Topping: While the muffins are already delicious on their own, you can take them to the next level by serving them with a dollop of whipped cream, peanut butter, or a drizzle of honey or chocolate sauce. This is a fun and indulgent way to serve your muffins at gatherings or special occasions.
By storing your muffins properly and knowing how to warm them up, you can enjoy these tasty treats at any time while keeping them as fresh and delicious as when they were first baked!
Why This Chocolate Chip Muffin Recipe is a Must-Try!
If you’re looking for a quick, simple, and delicious treat that the whole family will love, this Homemade Chocolate Chip Muffins Recipe is the answer! With its perfect balance of sweetness and fluffiness, these muffins are ideal for breakfast, an afternoon snack, or as a sweet addition to any occasion. The chocolate chips add just the right amount of indulgence, while the simple ingredients ensure you can make them with ease, using pantry staples that you likely already have on hand.
The versatility of this recipe makes it stand out—whether you enjoy them as-is, warmed with a dollop of whipped cream, or paired with a hot beverage, these muffins are a crowd-pleaser. Plus, with easy storage options, you can make a batch ahead of time and have fresh muffins ready whenever you need them!
For those who love to customize, feel free to experiment with variations—add in a handful of nuts, spices, or even swap out the semi-sweet chocolate chips for dark or milk chocolate depending on your preference.
Whether you’re a novice baker or an experienced pro, these chocolate chip muffins offer a foolproof way to enjoy a homemade treat that always turns out great. Remember, the key is not to overmix the batter and to bake at the right temperature, which ensures that your muffins will be tender and delicious every time.
So why wait? Get your oven preheated, gather your ingredients, and enjoy baking these mouthwatering chocolate chip muffins! With their perfect texture, flavor, and simplicity, they’ll become your go-to sweet snack for any time of day!